Home DIY: office storage bench
/When Kurt and I moved into our new apartment at the beginning of this year, we lost a lot of space. Our old home was a 3 bedroom, 2.5 bathroom house on the other side of Tallahassee that gave us plenty of space to spread out. So downsizing to a 2 bedroom, 2 bathroom apartment took some creative thinking!
One of the areas we lost almost entirely was an office. We had been sharing one of the extra bedrooms in the old house as a joint office. It was a longer and skinnier room, so we each took an end and it worked well. In this new apartment we wanted to keep the second bedroom available as a guest room when friends and family came to visit. So designating our separate office spaces took some outside-the-box thinking.
Identifying my needs
Working from home means I can sometimes go an entire day without talking to someone. I've found that being able to look out of a window helps me to feel more connected. So as we were planning out the space for my office, it was important to have access to a window with lots of natural light. I also wanted to find a space with enough storage close at hand for the books, files, and supplies I regularly use. I didn't want to constantly disrupt my work flow by struggling to find something. Keeping those requirements in mind, we ended up establishing my office in what is considered the dining room of our apartment.

You can see the dining room - or office - marked in the floor plan of our apartment. It's certainly cozy, but we were able to organize it in a way provided everything I need!
When you include the door to the patio, this space is surrounded on three sides by windows, (not to mention the windows in the living room area) so it definitely checked the "must have lots of natural light" box. However, with so many windows, Kurt and I had to get creative regarding storage space.
To address these storage needs, we ended up building a custom storage bench. The bench exists in two parts: a seat with storage underneath for a small footstool, and a longer section with shelves for my books and supplies. It is just over 6 feet in length, just over 2 feet tall, and 18 or 24 inches deep depending on which part of the bench you're at. It takes up almost the entire space underneath the window on the longest wall of this area, but you could adjust these dimensions to fit into whatever space you have!

My complete office space - with plenty of natural light, a comfy chair to work from, and SO MUCH storage as a result of the storage bench!
The project took us a couple of weekends to finish and while there aren't any step by step photos, I do have a few to share that we snapped along the way! All in all, the overall cost of this storage bench was right around $100.00. That included all new hardware, wood, paint and stain, as well as the supplies for the cushioned seats. The only things we didn't have to purchase were the tools that we used.
The supplies, tools and steps that we used are outlined below.
How to Build your own Custom Storage Bench
Supplies for the bench framework:
Wood (A mix of 2x4 studs for the framework (which are cheap!), and 1x4 and 1x3 pieces for floor, sides and shelf)
Minwax Wood Finish stain in English chestnut
High-gloss white paint
1" Common Nails
.75" L joiners and straight joiners
A mix of 1", 2", and 3" screws
Supplies for the cushioned seat tops:
16"x60" piece of particle board
12"x48" piece of particle board (cut in half and joined for a 24" x 24" square)
2" semi-firm foam pieces (I purchased mine from Jo-Ann Fabrics)
A 45" x 60" piece of 1 Loft Batting (I used Soft n Crafty brand from Jo-Ann Fabrics)
2 to 3 yards of fabric, depending on how much extra you want to have (Because this is an area that gets lots of sunlight, I chose an outdoor fabric from Jo-Ann Fabrics to minimize any fading)
Tools:
Foam brushes in a variety of sizes for staining
Paint brushes for painting
Circular saw
Speed Square
Level
Drill
Hammer
Measuring tape
Staple gun and staples
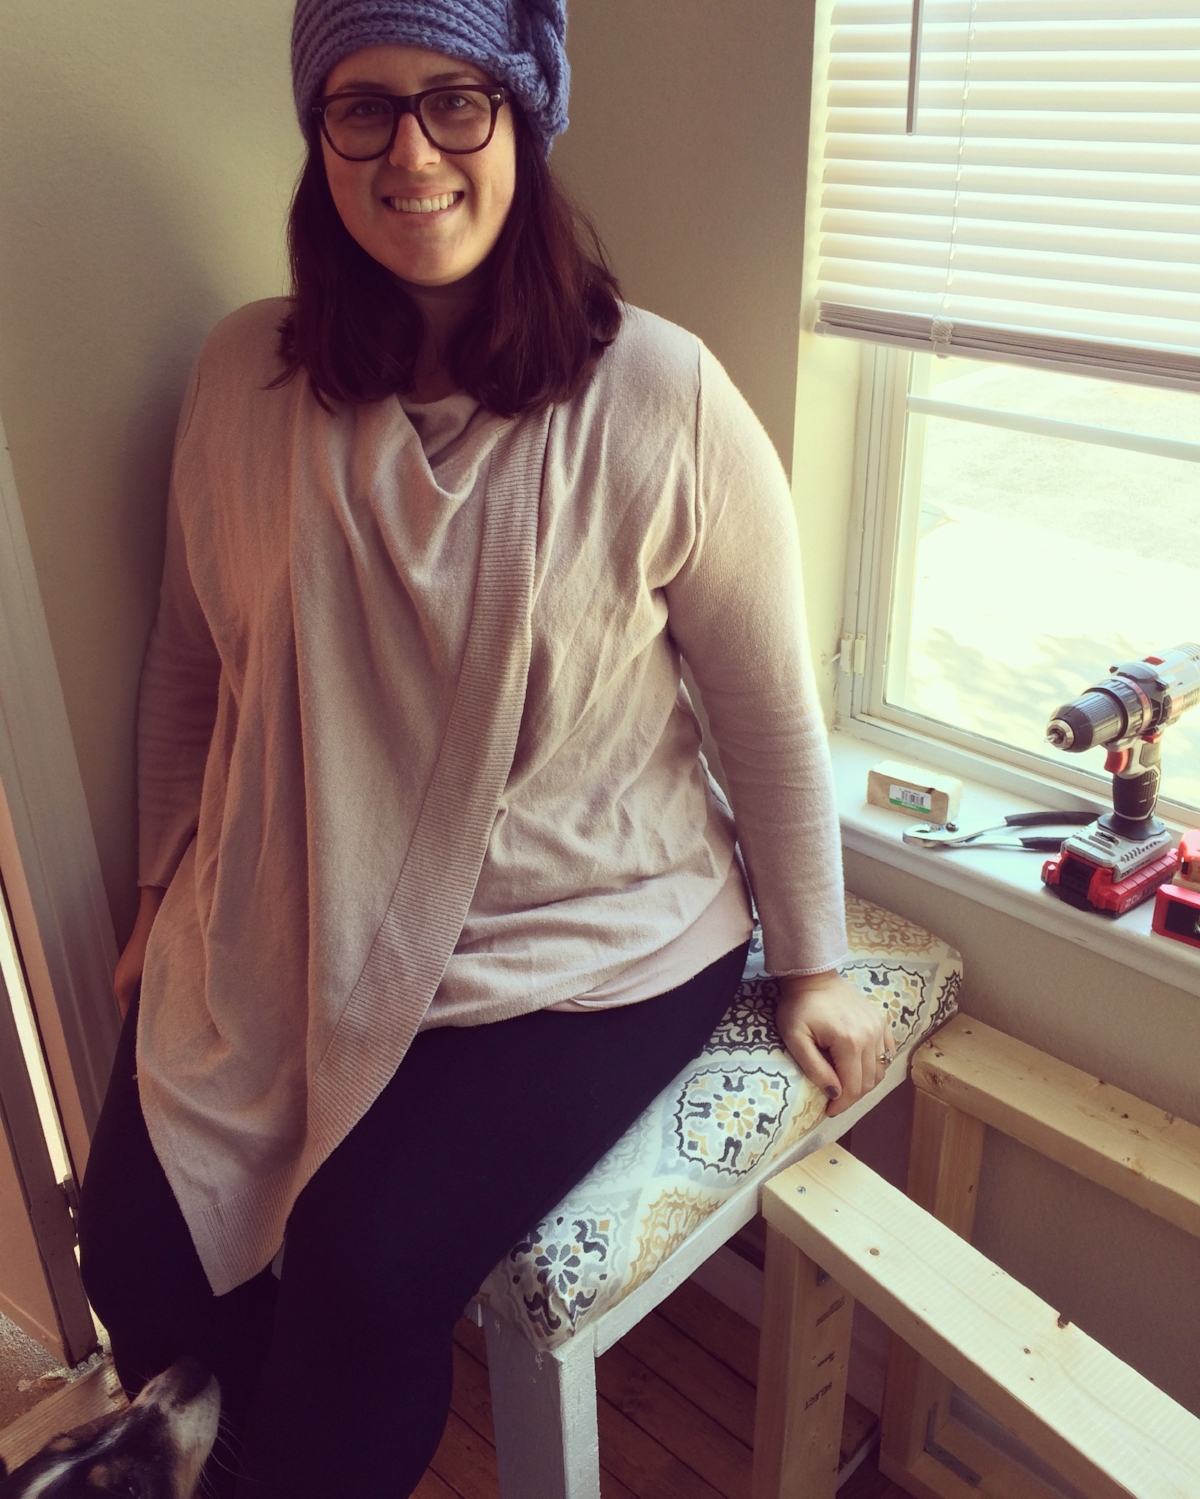
The first part that we built was the seat. I was a little nervous that it would collapse beneath me when I sat on it for the first time, but it was (and continues to be) one of the sturdiest pieces of furniture we own!
Steps:
Determine how long the seat needs to be based on height to the window sill, width to fit the stool, and depth to the door.
Measure and cut the 2x4 studs for everything except the front joining piece and the three-sided bottom of the frame, all of which are 1x4 pieces. These will become your cube-like seat.
Construct the outside frames by building rectangles out of the cut 2x4 studs and 1x4 pieces using the L joiners and screws.
Join the rectangle frames together using straight joiners and screws using the joining pieces you cut in step 2. You'll build a cube-like frame.
Paint the bare cube-like frame (we chose a high-gloss white to coordinate with my desk).
Once dry, measure the total width (to the outer edges) of the bottom of the cube-like frame.
Cut 1x3 pieces to match this measured width. Stain, dry, and nail these pieces in place to mimic the look of a wood floor.
Repeat frame-building process with bench.
Once the outer frame is built, fix two 1x4 vertical pieces roughly halfway into the frame with L joiners. These will offer extra support and act as one end of the shelf.
Paint the outer frame.
Next, measure the overall width and length of "floor hole" in the frame.
Cut 1x3 pieces to match this measured width and length. Stain, dry, and nail these pieces in place to mimic the look of a wood floor.
Measure overall depth (to outer edges) of the frame.
Cut 1x3 pieces to match. Stain, dry, and nail up vertically in the style of shiplap.
Do this last step for both the inside of the left side, the right side, and the middle. You'll need to choose one side of the middle 1x4 vertical pieces to place these. Whatever side you choose will be where your shelf connects.
Once 12"-14" up on the middle and whatever side you've chosen to face the middle, measure the interior width for a shelf.
Cut 1x3 pieces to match this interior width. Stain, dry, and nail in place to act as the shelf.
Continue nailing the shiplap to the inside of the top of the frame.

Measuring is always an important step when you're building something, but because of the tight space this was going to be placed in, we measured each piece multiple times just to make sure cuts were made right the first time!

Before we stained and secured the wood pieces that would become the shelf, we placed each cut piece to determine the proper height. You can see where we chose which side of the middle support pieces and how that allowed us to add the shelf.

With the framework complete, all that was left was to secure the floor and shelf, and cover the seat!

Testing out how the storage areas might work before putting the cushioned seat in place. You can see the stained pieces that became the sides, floor and shelf.
We chose particle board for the tops of both the seat and the bench. It was strong and also easier to cover each piece in foam and batting to create a finished look!
Here's how we did it:
Cut 2" thick foam to fit the dimensions of the particle board.
Once cut, wrap the foam and the particle board with batting, securing it to the bottom of the boards with a staple gun.
Finally, place the wrapped boards face down on the fabric and cut it to size.
Secure the fabric to the bottom of the boards with a staple gun, taking care to fold clean corners and pull the fabric tightly.
Once both pieces are covered, secure them to the framework with screws.

All ready for my books and work supplies!
The finished space
Now that I've been using this office space and storage bench for the better part of a year, I've come to appreciate how much work went into making something both functional and comfortable. This DIY project is one of the largest we had ever attempted, and really pushed both Kurt and I outside of our comfort zones a little bit. But the pride we have in this finished project was completely worth the challenge. This cozy and beautiful storage bench is one of my favorite pieces of my little office area and I'm glad to be able to share it with you!
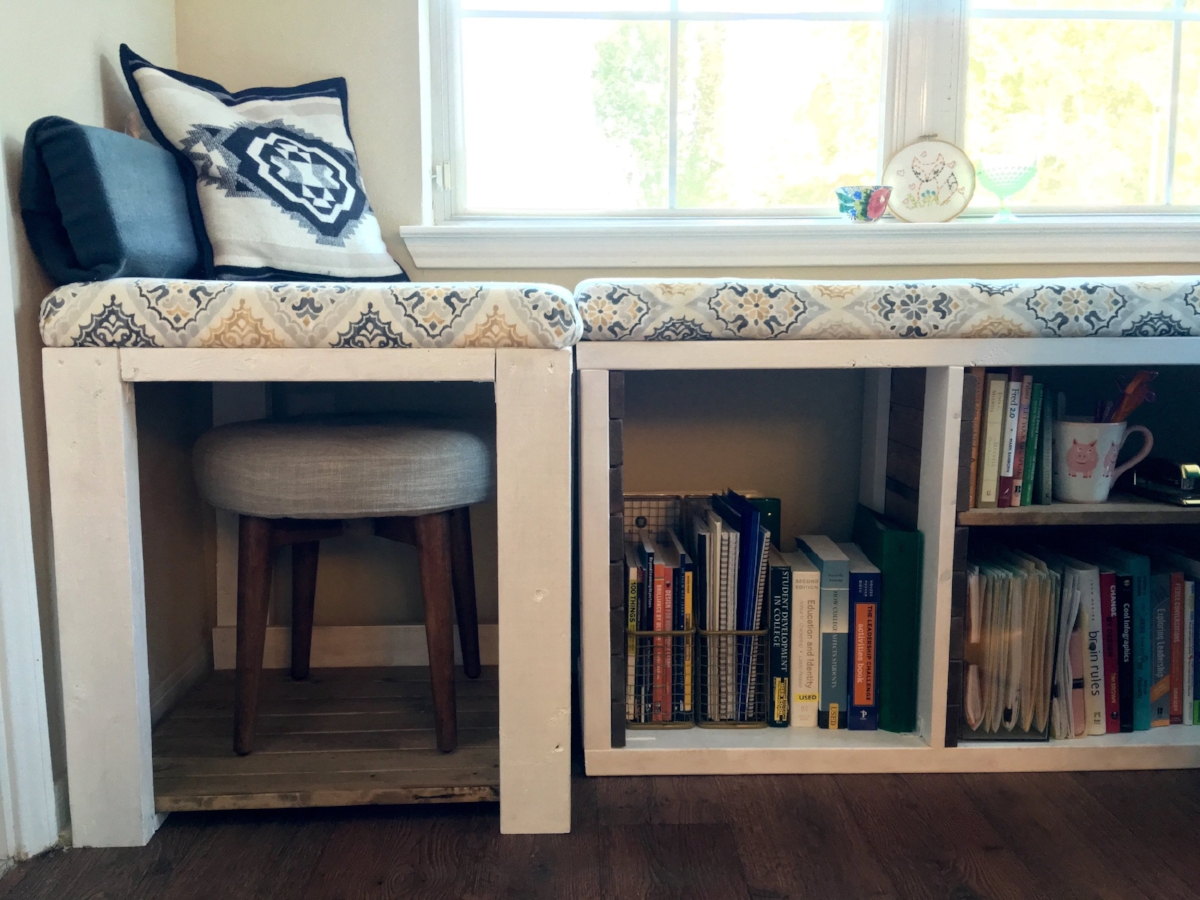
With a larger area for taller items and another area with a shelf, I have lots of storage options for my various sized books, files and work supply items.

Sydney has her own space in my office area as well - a dog bed right next to my desk! Most days she sleeps there while I work, lifting her head every once in a while to check that I'm still there.
I'd love to know - what DIY projects have you attempted that pushed your skills to the max? Let me know in the comments and be sure to include pictures on Instagram with the hashtag #youmeserendipity!