DIY Felt Flag Garland
/Today, I'm excited to share with you the fifth post in the Giving with Meaning series! Finding meaningful gifts is something I truly love to do. However, budgets, timing, and distance often impact how I celebrate those I love. In this series I share how I've kept each of those things in mind as I assemble meaningful gifts for my friends and family. You can read more posts from this series here!
One of the goals for the month of May I mentioned in my May goals post was to host my sister-in-law's baby shower. Well, Kurt and I spent Mother's Day weekend in Pennsylvania to do just that! It was a packed weekend with lots of time spent with my family and celebrating my brother, my sister-in-law and their baby on the way.
As my mom and I put together pieces for the shower, it was important to me to include a decor element that they could use again for nursery decoration or future parties and celebrations for the baby as part of my gift to them. And, because we were having the shower at a restaurant, it needed to be something that was easy to assemble, hang, and take down without damaging the restaurant space.
So, after considering a few options and looking at Pinterest and Etsy for inspiration, I used an element from the invitations we selected and made felt banners!

I made all of the banners over the course of a weekend, so as DIY projects go, this is a relatively easy one to complete. With just a few supplies from Michael's, I was able to make a unique and lovely decoration for the baby shower! For the list of supplies and steps I used, continue reading below.

Felt Flag Garland Supplies:
Two sheets of felt in each of the colors from your desired color palette. I used seven different colors for these garlands.
Embroidery floss to match each of the chosen felt colors
Sharp sewing scissors
An embroidery needle
A tape measure
A dark pen or marker
Bakers twine or decorative string

Some of the supplies I used for this DIY project!

The felt flags with their matching embroidery floss.
Instructions:
While holding the sheet of felt horizontally, fold it in half.
Using the tape measure, divide the sheet of felt into four equal pieces by making a small mark at the appropriate lengths. For example, the sheets of felt I used were twelve inches in length, so I made marks at the three, six and nine inch marks.
Using the sewing scissors, cut the sheet of felt into four pieces at your marks.
Then, to each of the small pieces of felt, find the center point at each end. Then, measure in from that center point one inch and make a small mark.
Cut diagonally from each corner to the center mark, removing that small triangular piece from each end. This creates the flag shape.
Using the corresponding embroidery floss and needle, start at the bottom and stitch up the center of each flag using the backstitch. Be sure to leave an unstitched section at the top where the flag is folded. That's where the string will go through!
Repeat steps 2 through 6 for each sheet of felt until all of your flags are complete.
Determine the order in which the flags will be on your garland.
String them in that order using the bakers twine or other decorative string!
Here are some photos of the steps I used for this project:

First step - measuring each sheet of felt into four equal pieces.

The felt sheet all cut up into four!

Removing a center triangle from each end of the felt piece created the flag shape.

All ready to be stitched up the middle!

Finished flags, front and back. You can see how different the backstitch looks on the right and wrong sides!

All strung! I was able to create three different garlands of differing lengths with the supplies I had.
We hung the banners with simple 3M hooks - they were easy to install, and left no damage when we removed them at the end of the shower.
Even though it rained on the day of the shower, inside the restaurant it was rather festive. The combination of the felt banners, the flowers and the company made for a very special day for my sister-in-law!
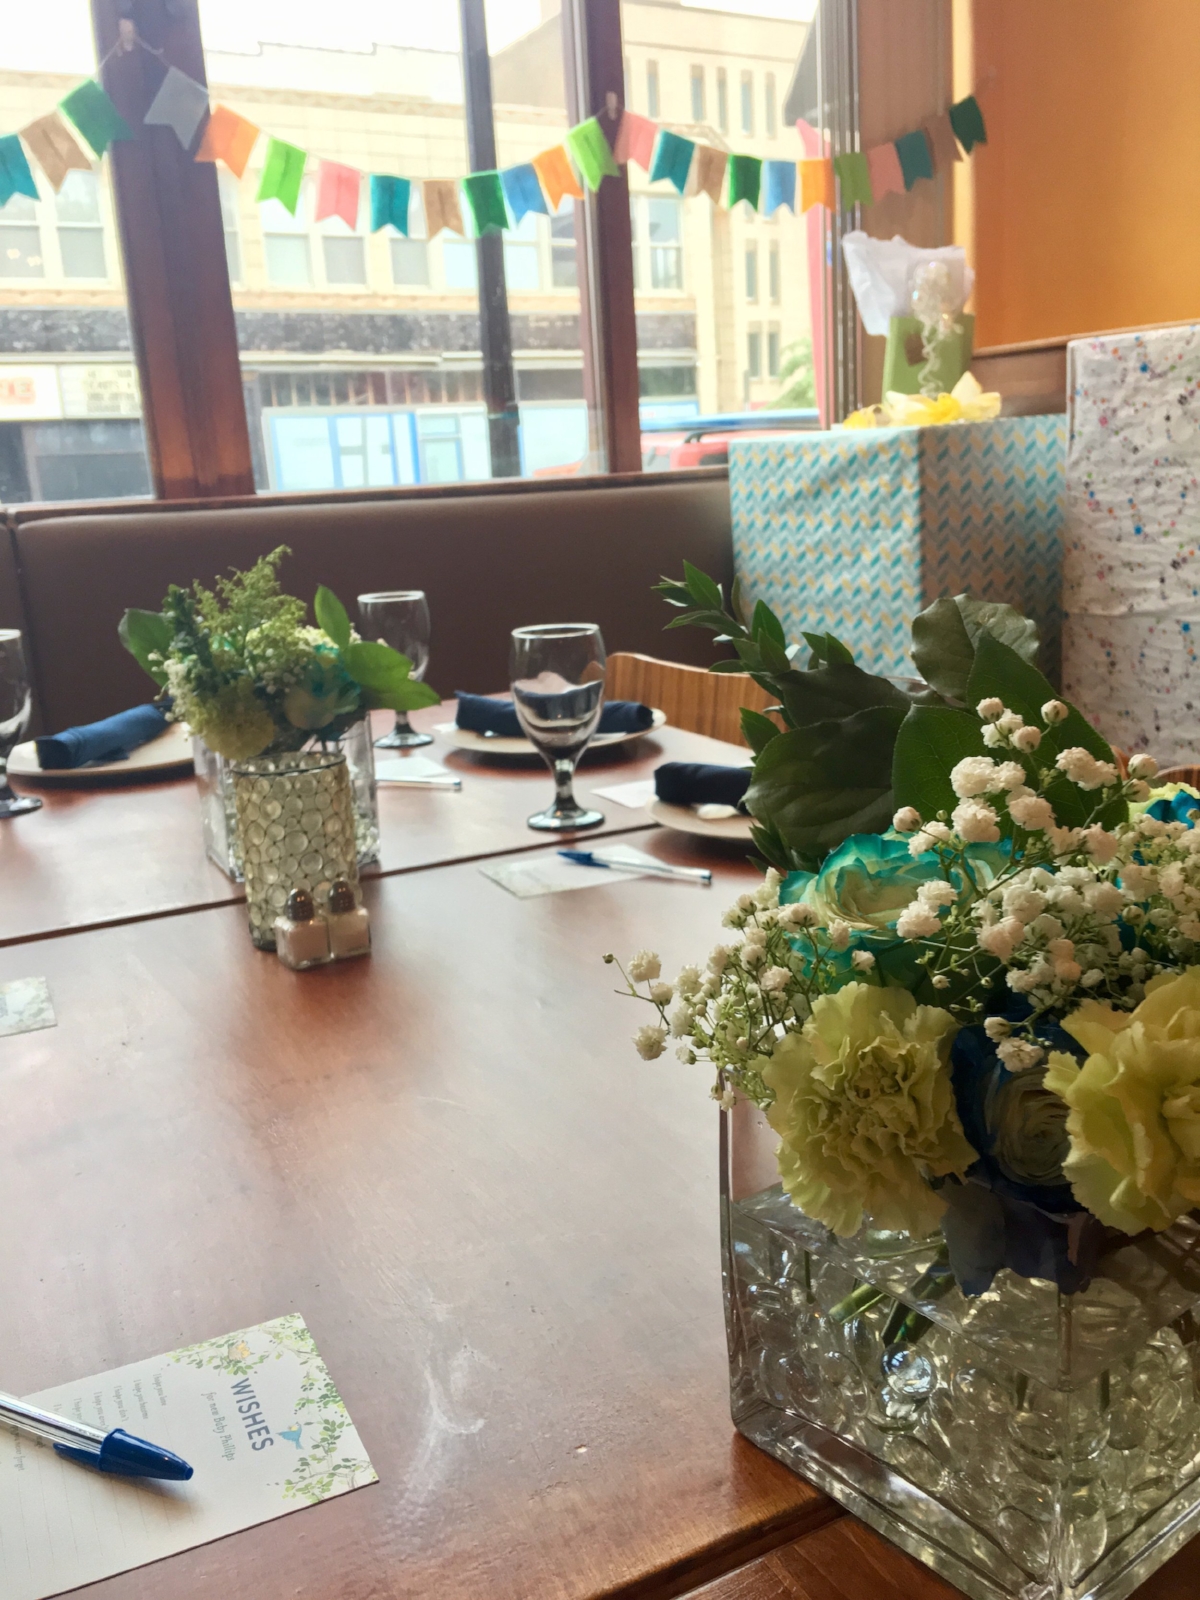

These colors matched so well with the baby shower invitations that we used!
I'd love to know - what decor elements have you included in baby showers that you've hosted? What are some of the favorite elements you remember from baby showers you've attended? Do you have any go-to baby gifts that you like to give? Share your thoughts in the comments!